
This page is under construction
This page is under construction
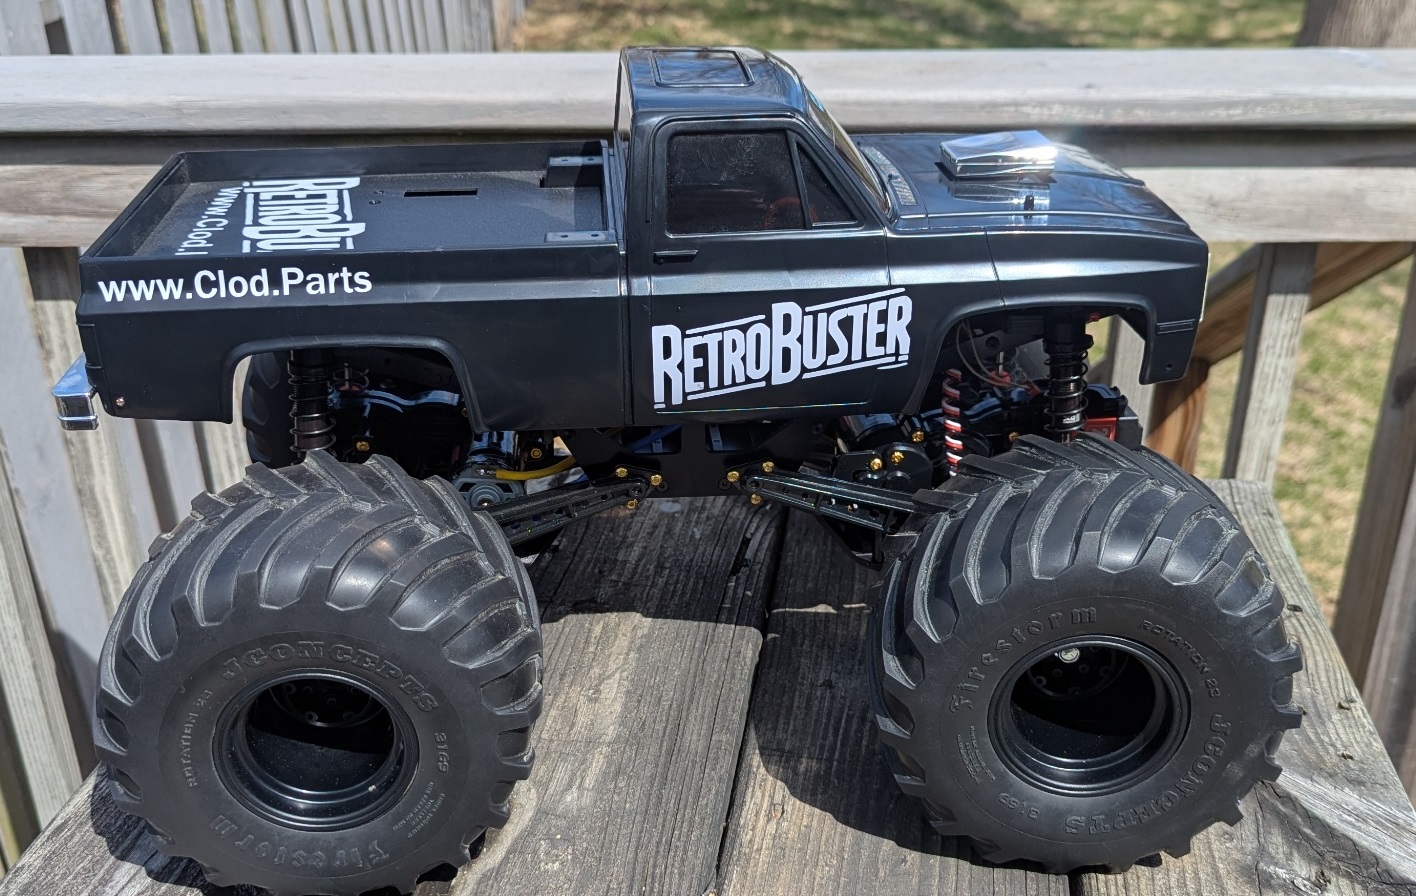
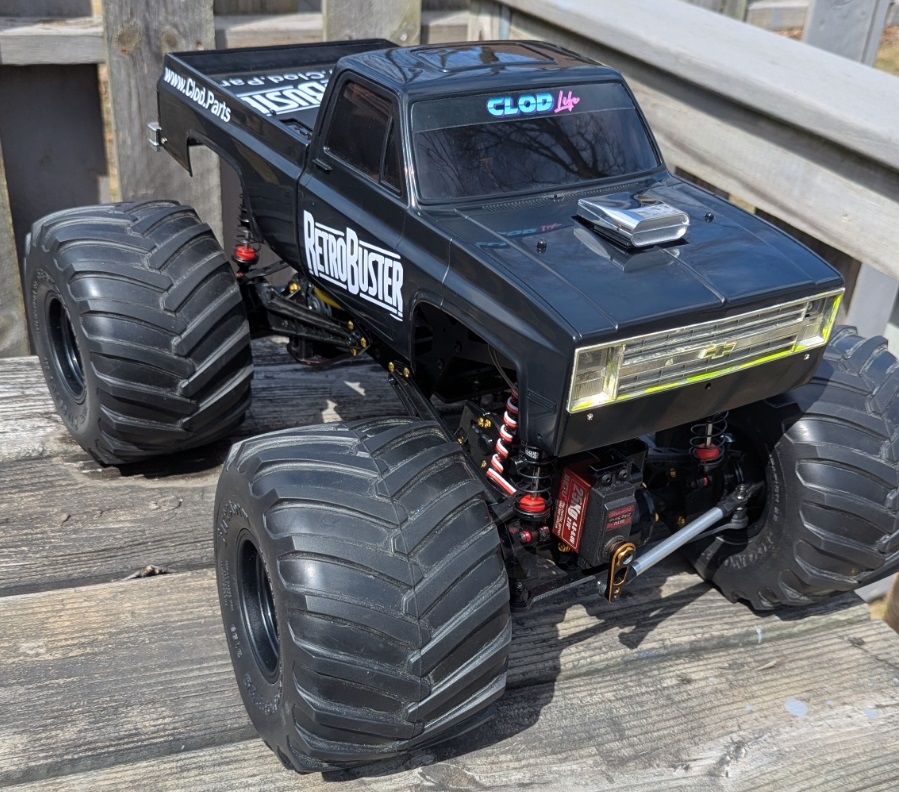
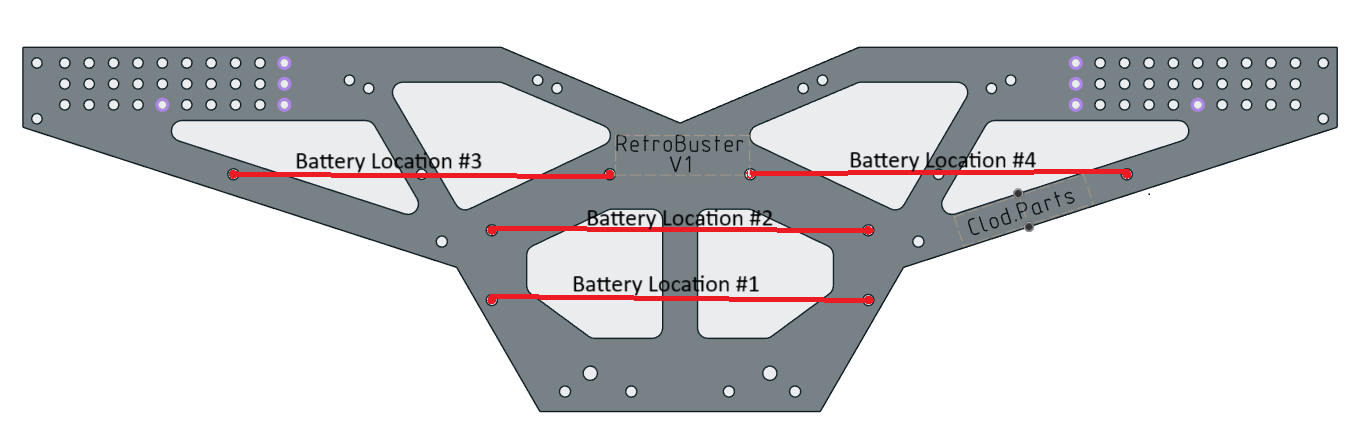
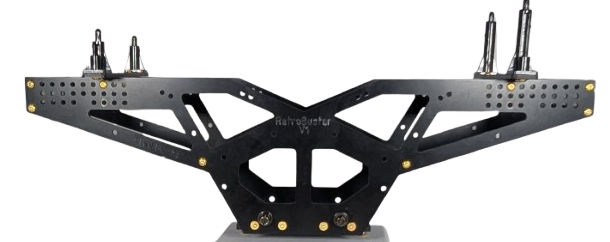
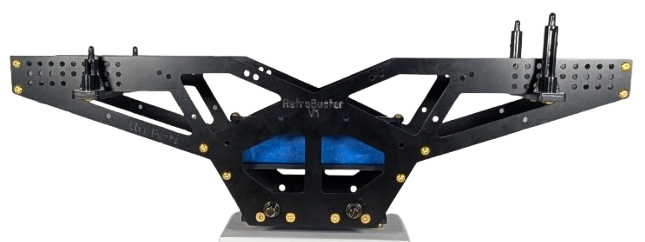
The RetroBuster was built to be a budget friendly, highly adjustable G10 based Retro 2 style chassis for the Clodbuster that uses a 2S shorty battery (there is an option for full size). Many hours of design and redesign went into this chassis.
One area that frustrated me with clod chassis in the past was the lack of options for tuning. I tried to incorporate as many tuning/setup options as I could think of and will add more as time goes on in future versions.
Next is i tried making everything on one sheet of 400x400mm G10 to keep this at the budget level. Parts may get added or changed in future versions depending on what people request.
Please note that these are not shelf queen chassis. G10 can have water spots and sometimes from the manufacture light scratches. I am working to source better material, and always do my best to make the chassis look as good as it can be.
The instructions can be found here!
Specs:
What you will need
 |
 |
 |
 |
 |
 |
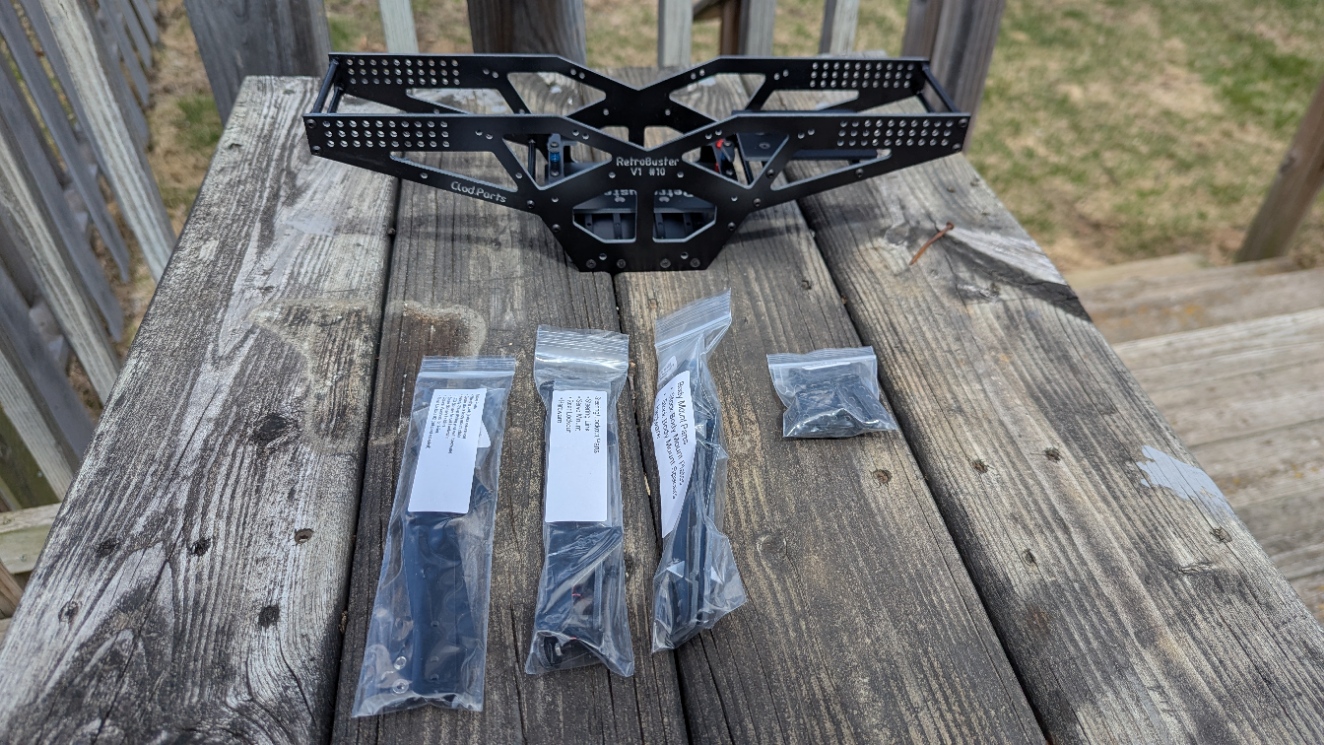 |
Below are illustrations of the different setup options and info about the chassis. Be aware that not all options are compatible with each other. Some images below may show different color hardware and pre-production braces. All hardware included with chassis at this time is black.
Please use this handy table of contents to jump to the section you want to look at.
Weight
The weight of the chassis is .82lbs.
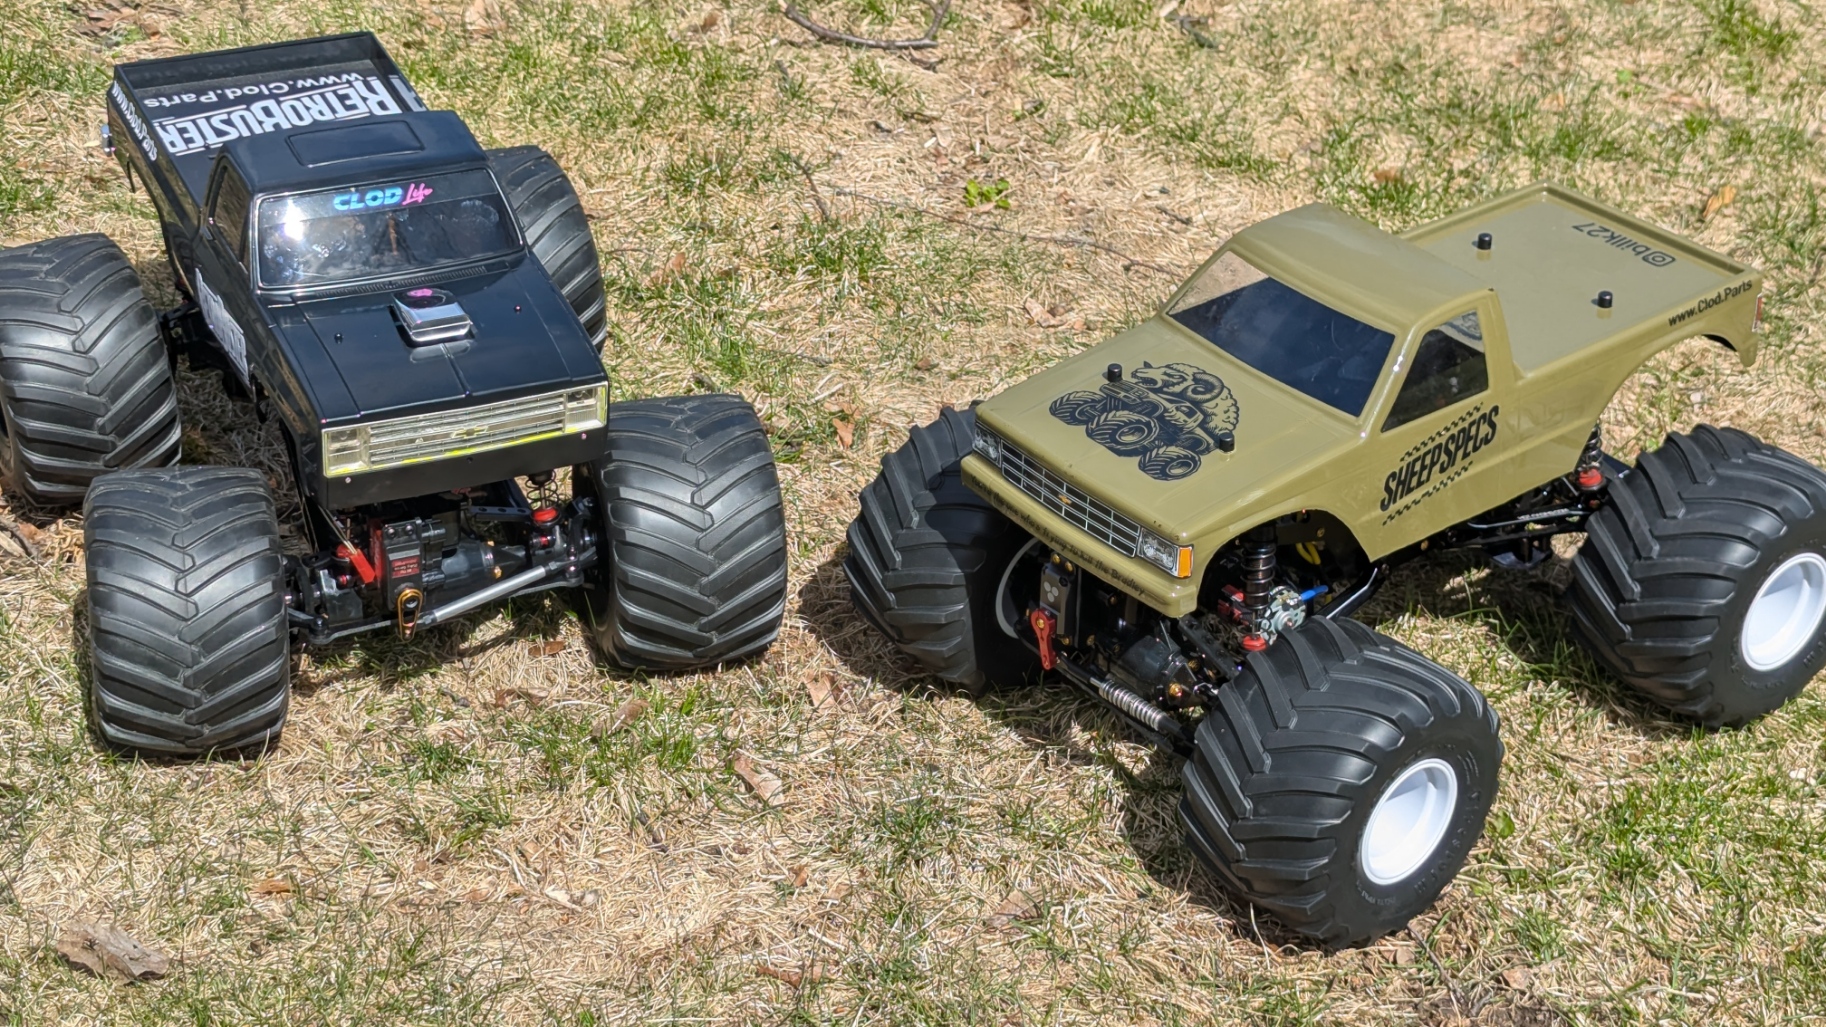
RetroBuster truck
pictured above weighs 8.96lbs with battery.
This truck is equipped with the stock
body and has TTR front CVD's. The tires are also blue compound with
foam inserts.
SheepSpecs truck above weighs 7.98
lbs. with
battery
This truck is equipped with Hot Racing
aluminum ladder bars and Hot Racing Aluminum Graphite steering knuckles along
with a Lexan body.
In the future, I will be working on bolt on weights for this chassis.
Body Mount Options
The Retro Buster is incredibly versatile when it comes to your choice of body mounts. Spacers and hardware are included. More information will be posted shortly on how to mount the stock body mount plates.


Out the side body mounts
The radio tray can be mounted in seven different locations giving you options for weight distribution and setup. They are listed below.
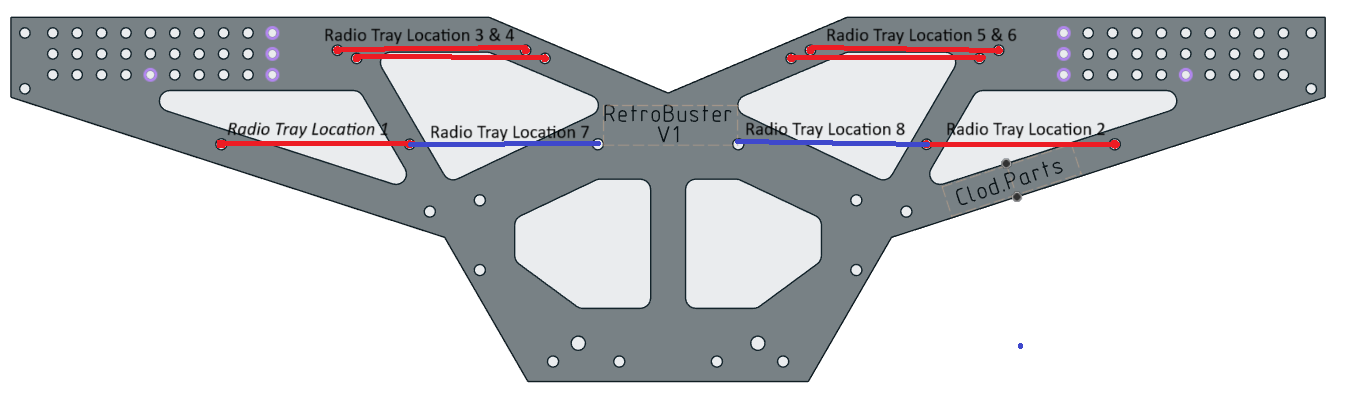
The RetroBuster requires 100mm shocks if you are using the stock ladder bars. The shocks can be mounted on the lower row of holes on the chassis. I personally use Gmade GM21407 XD Aeration Shock 103mm. If you use longer shocks, you can use any holes you want. With the stock setup you can use single or dual shocks on each corner. Chassis 1-6 have nine different mounting positions while chassis 7-10 & un-numbered have ten. Either chassis gives you many options for the angle of the shocks you will like.
Upper shock offset can be adjusted by the included 3mm spacers and hardware. You can also use any standoffs or spacers that you have laying around. Another great option is the Losi TLR Tuned LMT Shock Standoffs LOS243024,
If you are using the retro 4-link setup (Like an ESP) you can use shorter shocks. I have not fully played around with this option yet.
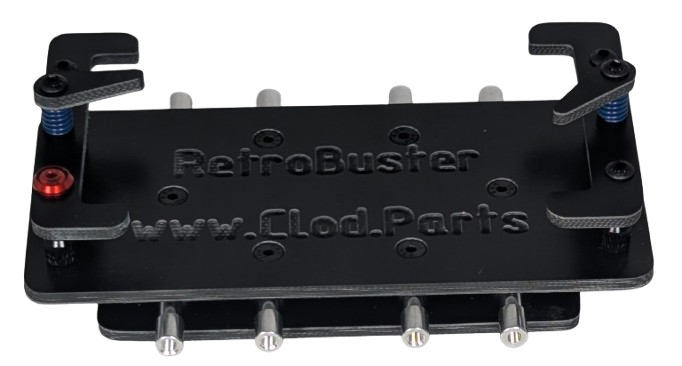
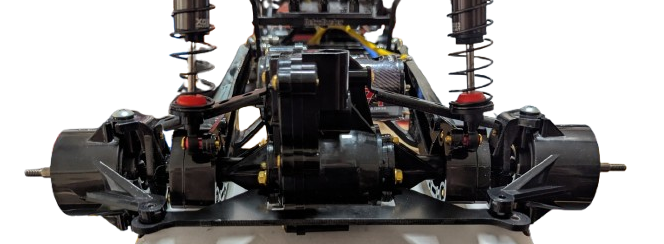
Steering SetupThe RetroBuster comes with an upfront style steering setup. It uses aluminum servo mounts and a ball bearing plate steering link. Two choices of g10 steering links are included, a straight one and one that has an arch if you need more steering motion (doesn't hit the gear box). Turning this is a 70mm m4 rod with two rod ends on it. I included a simple servo horn as well that I like. All required hardware is included as well.
Retro2 racing is not very fast, so I do not believe you will need a servo saver installed. However if you put some wild modified motors in this as I suspect some will do, I recommend a servo saver and you may need to update to a stronger steering link. I do not think the 3mm G10 will survive wild modified motors. An stronger steering link is on the list for future plans.
*Tip* place your servo in the aluminum brackets and tighten down the bolts holding the brackets. Remove the servo and install the servo plate to the gear box. Make sure to put the 1 mm washer between your gear box and servo plate otherwise your servo will not site properly. Tighten the plate mount bolts with the two included nuts. unfortunately you can not tighten the aluminum servo mounts if you have the plate installed, this is why you need to follow this steps. I will have images soon!
Future plans are to work on a better system.
Rear Lockout Setup
To install the rear lock out you will need to flip your steering knuckles around. The G10 plate needs to go under the knuckle arms and attaches with the included hardware. The lock out should sandwich the two axle tubes and is a snug fit.
4-Link Setup
Retro 4-link setup is possible. I have included 4 conical washers in the spare parts bag to be used on the outside 4 mm holes. Remember this is a +1" chassis so choose your links properly. Shown above are links from a 14" wheel base ClodZilla 4. So in actuality it is now a 15" wheel base. At this time I do not have any suggestions for links since this style was never my intension. Somebody in the Clod Life community will probably figure it out.
| Order now at Bent Axle Bill! |
 |